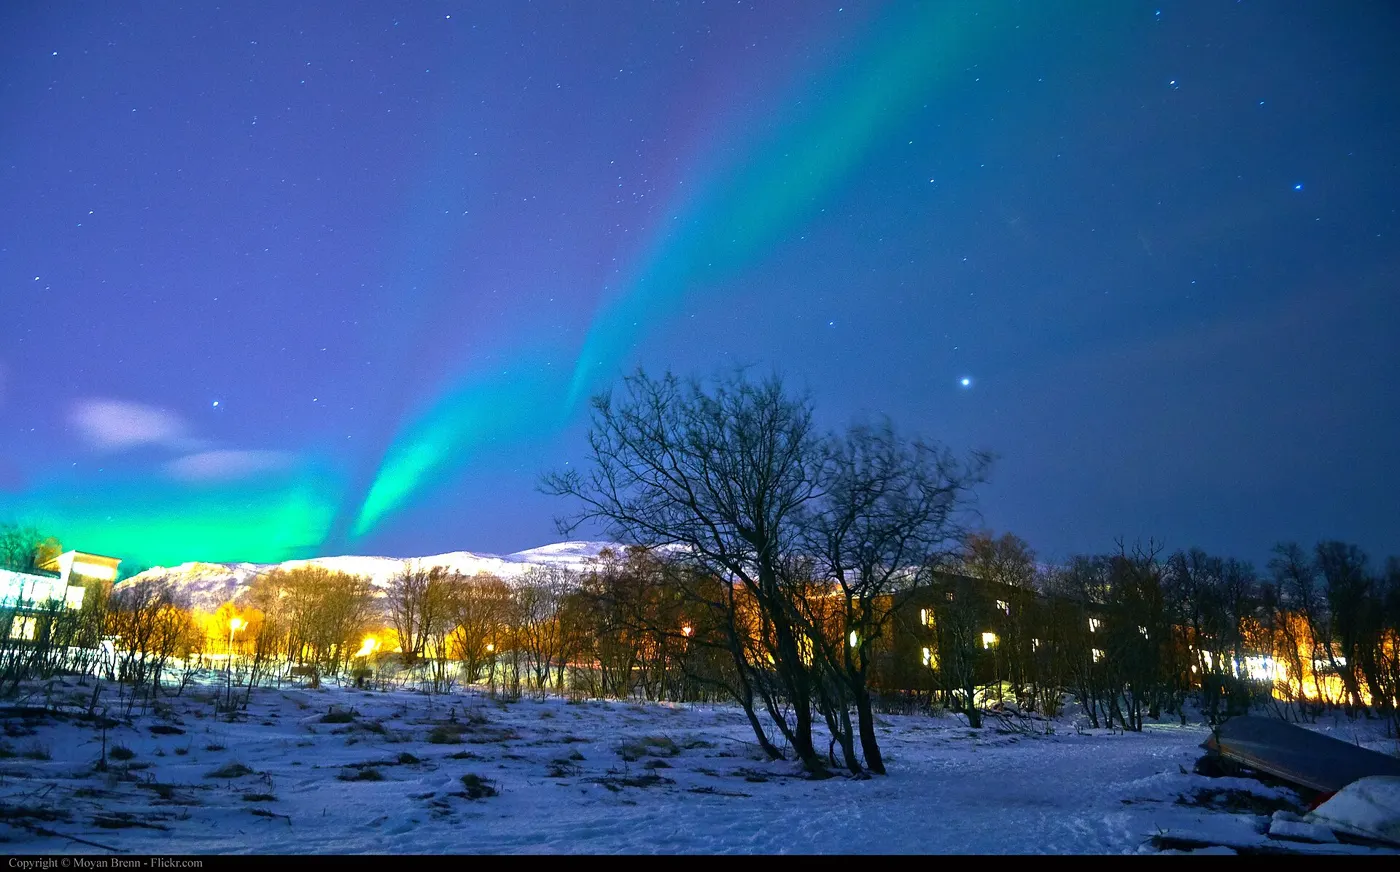
Chasing the Aurora: A Field Guide to the Northern Lights
Everyone remembers their first aurora. Mine arrived as a pale grey arch I nearly mistook for cloud, until it rippled — a slow, deliberate fold of light across the whole northern sky. Within minutes it had turned green and begun to dance.
What you are actually seeing
The aurora is the atmosphere glowing. Charged particles from the Sun, carried on the solar wind, are funnelled by Earth's magnetic field toward the poles. High above the ground they collide with oxygen and nitrogen atoms, which absorb the energy and release it as light. Oxygen produces the familiar green at around 100–150 km altitude and, more rarely, a deep red higher up. Nitrogen adds blues and purples along the lower edges.
The light forms in oval bands around the magnetic poles — the auroral ovals — which expand southward when the Sun is active. That is why a strong geomagnetic storm can push the lights into latitudes that normally never see them.
When to go
Three things have to line up: darkness, clear skies, and geomagnetic activity. The season runs roughly from late September to late March, when nights are long enough. Activity follows the Sun's eleven-year cycle, and we are currently near a solar maximum, which has made recent winters unusually generous.
Check the Kp index, a 0–9 scale of geomagnetic disturbance. From the classic aurora belt — northern Norway, Finnish Lapland, Iceland, northern Canada and Alaska — a Kp of 2 or 3 is often enough. Several free forecast sites give a short-term outlook based on solar wind measured by satellites about an hour upstream.
Finding dark sky
Get away from town lights and find an open view to the north. A frozen lake, a low hilltop, or a stretch of coast all work well. Moonlight is a mixed blessing: a full moon washes out faint displays but beautifully lights the foreground for photographs. I keep a few scouted spots with clear northern horizons and easy parking, because the best displays rarely wait for you to find a view.
Photographing it
You do not need professional gear, but you do need a tripod. Set the camera to manual, open the aperture as wide as it goes (f/2.8 or lower is ideal), raise ISO to somewhere between 800 and 3200, and try exposures of 2 to 15 seconds. Faster, brighter displays need shorter exposures to keep their structure; faint arcs need longer ones. Focus manually on a bright star. Modern phones with a night mode can capture surprisingly good results if braced on something solid.
The real enemy is cold. Batteries drain fast below −20 °C, so keep spares in an inside pocket. Breathe away from the lens to avoid frosting it, and bring thin liner gloves so you can work the controls without bare skin on frozen metal.
The part no forecast captures
For all the physics, the aurora feels alive. It brightens when you least expect it, fades just as you reach for the camera, and occasionally fills the entire dome of the sky in a corona directly overhead. The advice that matters most is simple: look up more than you look at the screen. The photographs are a souvenir. The memory is the thing.